How to add an AI chatbot to your website without rebuilding it
A practical setup path for choosing the right content, testing answers, installing one snippet, and checking the live experience.
By chatwithwebsite.com product team · Website chatbot builders and reviewers

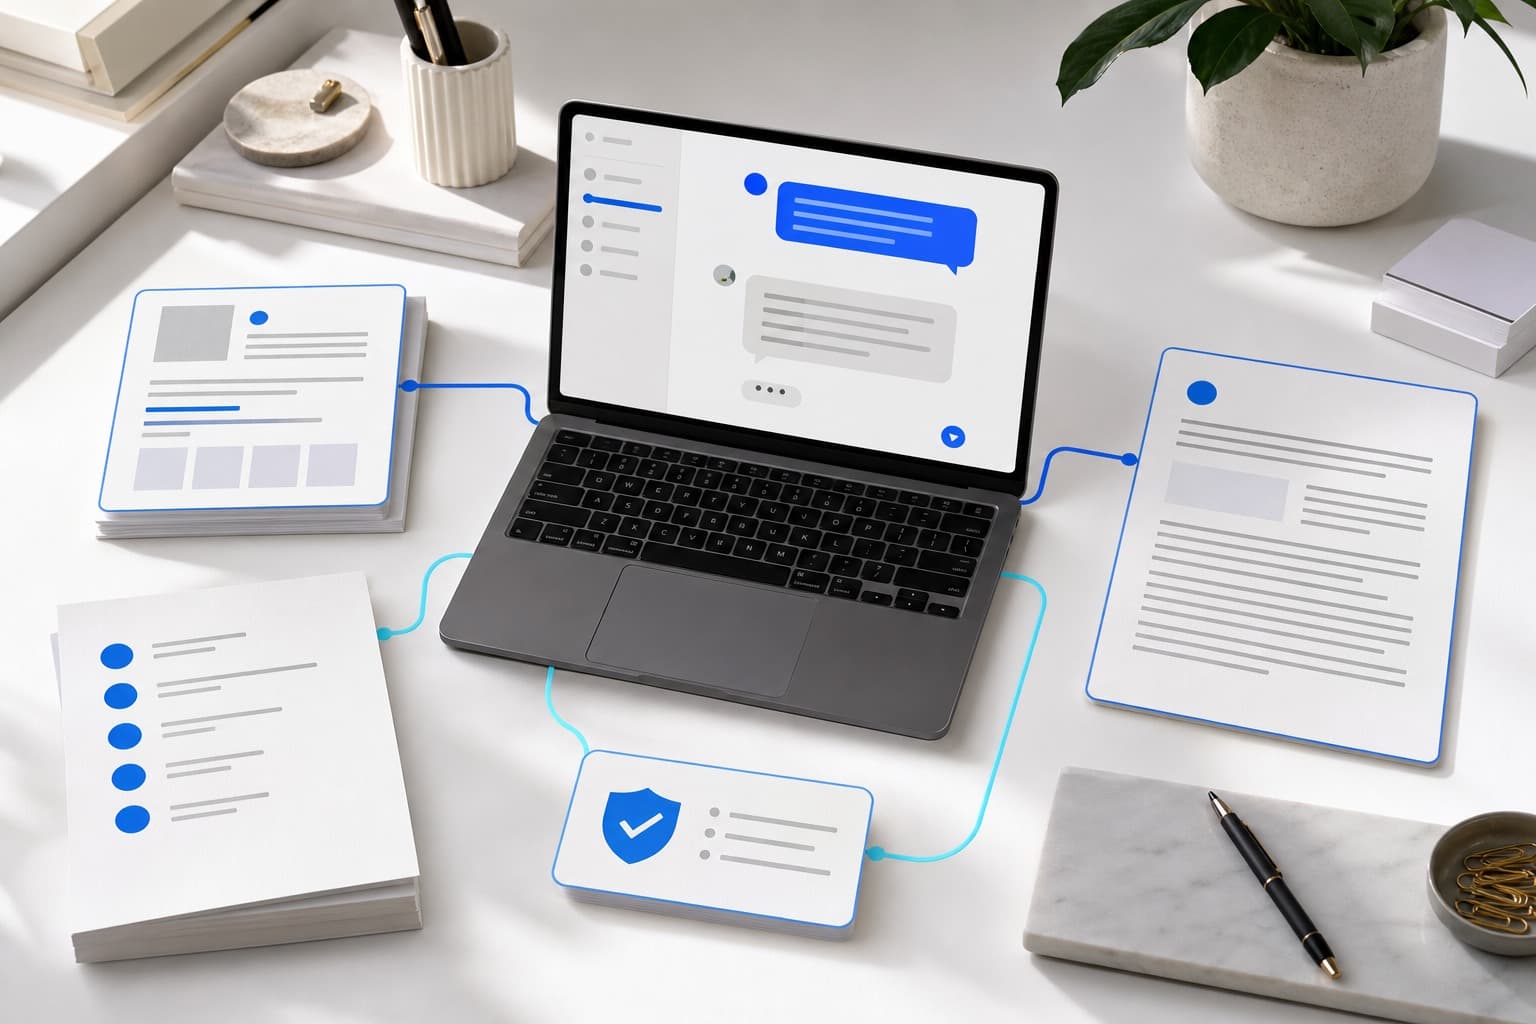
You can add an AI chatbot to an existing website without redesigning the site. The cleanest route is to prepare the business information first, test the assistant away from customers, and then paste a short script into the site-wide custom-code area.
The script is the final step, not the first. A polished chat bubble with weak answers is still a weak customer experience.
1. Choose one useful job
Start with the questions that interrupt the working day most often. For a bakery, that might be cake sizes, allergens, lead times, and pickup hours. For a local service company, it might be service areas, quote requirements, availability, and what to prepare before a visit.
Write down:
- the questions the assistant should answer directly;
- the questions it should hand to a person;
- the details it may collect for a follow-up;
- the subjects it should not advise on.
This boundary makes setup faster and gives you a real test plan. If your goal is still fuzzy, the small business chatbot overview explains where automated chat helps and where human judgment should stay in charge.
2. Prepare the source information
Your public website is a useful starting point, but it is rarely the whole answer. Product pages may be current while an old PDF still shows last year’s price. A contact page may list hours without explaining holiday exceptions. An FAQ may omit the question customers ask every week.
Gather the smallest authoritative set:
- the main website URL;
- current services or product details;
- exact prices, hours, service areas, and policies;
- the most common questions and approved answers;
- the handoff instructions for quotes, bookings, custom orders, and uncertain cases.
Treat exact values as records to verify, not prose to scatter across five pages. The website-content training guide shows how to resolve conflicts and keep the knowledge maintainable.
3. Import, then review
In chatwithwebsite.com, setup begins with the website and business name. The import creates a draft; it is not automatic approval. Review what was found, add missing facts, and correct anything that could cost a customer time or money.
Pay particular attention to:
- prices and price ranges;
- dates, opening hours, and lead times;
- addresses, delivery areas, and contact routes;
- product variants and availability language;
- cancellation, refund, booking, and deposit policies.
If two equally trusted sources disagree, decide which one is current before launch. The assistant should not be forced to guess which price or date you meant.
4. Test realistic conversations
Use the private test chat before the public widget exists. Copy real questions from email, phone calls, search terms, and counter conversations. Test short, messy phrasing - not only the perfect question used in a demo.
Include at least one example from each group:
| Test | What good looks like |
|---|---|
| Clear factual question | Direct answer using the current business fact |
| Vague request | One useful clarifying question |
| Missing information | Honest fallback instead of invention |
| Conflicting exact value | Request for confirmation or owner review |
| High-intent request | Appropriate contact details and context collected |
| Different language | A clear reply in the visitor’s language |
Read the whole exchange. An individually correct sentence can still feel unhelpful if it ignores the visitor’s actual next step.
5. Match the widget to the site
Choose a header title, welcome message, starter questions, colors, logo, bubble icon, and left or right placement. Keep the opening message short enough to scan on a phone. Starter questions should reflect real visitor jobs such as “Do you deliver to my area?” or “Can I request a quote?”
Check contrast and make sure the bubble does not cover the cookie banner, checkout controls, or a mobile navigation button. The best placement is the one that stays available without blocking the page.
6. Install the snippet
Publish the assistant when the knowledge and test conversations are ready. Copy the install snippet and add it to the site-wide custom-code area, normally before the closing body tag or in the platform’s approved custom-script field.
Platform names and menus change, but the pattern is consistent:
- WordPress: use a trusted header/footer code area or the theme’s documented custom-code option.
- Shopify: use the theme or customer-events mechanism that supports the required site-wide script.
- Webflow: use project or page custom code on a plan that supports it.
- Wix: use the dashboard’s custom-code settings and choose the pages where the widget should load.
- Custom site: place the script in the shared layout so it appears on the intended pages.
If you do not control the site, send the exact snippet and intended placement to the person who does. Do not paste it into a visible text block.
7. Verify the live experience
Open the published site in a private browser window and on a real phone. Confirm that the widget loads, opens, sends a message, displays long replies, renders links, and remains clear above mobile browser controls.
Then repeat one known question, one unknown question, and one follow-up request. If lead capture is enabled, use the lead-capture launch checklist to verify that the request reaches the correct inbox with enough context.
The first week matters more than launch day
Review real conversations after the first day and again after the first week. Look for repeated missing questions, confusing starter prompts, weak handoffs, and pages whose wording causes avoidable ambiguity. Improve the source knowledge, not just the assistant’s tone.
Installation is successful when the chat is useful, reviewable, and easy to maintain - not merely when the bubble appears.